Often it is necessary to be able to test with SSL in a development environment, as sometimes things just wont work without SSL, especially now that some browsers such as Chrome are becoming more insistent on security being done properly. It therefore became necessary for me to work out how to setup a self-signed SSL certificate for localhost with my XAMPP install on Windows. I was unable to find any such instructions on the Apache Friends website, so after reading a little, I muddled through and this is what I did for my setup on Windows.
Note: I run a whole lot of WordPress instances but I use localhost to access them, ie I use say http://localhost/wordpresstest, so I don’t have virtual hosts setup to access it like http://wordpresstest.com.au. As such these instructions work for when you have your web content in the default htdocs folder and are just using localhost to access all web content.
The 6 Step Process
- Step 1 – Editing Config
- Step 2 – Prepare for V3 Certificate
- Step 3 – Create the Certificate
- Step 4 – Install the Certificate
- Step 5 – Restart XAMPP Services
- Step 6 – Test and Fix Firefox
Step 1 – Editing Config
Open C:\xampp\php\php.ini
For the SSL we are going to use openssl, so we need to make sure that the openssl line is not commented out. Ie remove the semi colon (;) in front of the line
extension=openssl
Save.
Now, open: C:\xampp\apache\conf\httpd.conf
Make sure that the rewrite_module is uncommented (ie no semi colon at the start of the line). For me, it was already uncommented.
LoadModule rewrite_module modules/mod_rewrite.so
Step 2 – Prepare for V3 Certificate
In C:\xampp\apache create a file named V3.ext with the following content:
subjectAltName = @alt_names

[alt_names]

DNS.1 =localhost

DNS.2 =127.0.0.1
Then edit C:\xampp\apache\makecert.bat (open with something other than notepad.exe) and change line 9 from:
bin\openssl x509 -in server.csr -out server.crt -req -signkey server.key -days 365
to read:
bin\openssl x509 -in server.csr -out server.crt -req -signkey server.key -days 365 -extfile v3.ext
ie add -extfile v3.ext to the end of the line.
Step 3 – Create the Certificate
Open a command prompt (eg from the Windows start menu type cmd in Windows search) then enter
cd /D C:\xampp\apache
Assuming you have installed xampp in C:\xampp\apache
Now enter:
makecert
Now you should see this:
C:\xampp\apache>makecert

Generating a RSA private key

............................++++++

.....................................++++++

writing new private key to 'privkey.pem'

Enter PEM pass phrase:
Enter in a pass phrase for decrypting your private server key, and press Enter. Eg I love to code
It will say:
Verifying - Enter PEM pass phrase:
Enter the passphrase again, press enter. Now you will see this:
-----

You are about to be asked to enter information that will be incorporated into your certificate request.

What you are about to enter is what is called a Distinguished Name or a DN.

There are quite a few fields but you can leave some blank

For some fields there will be a default value,

If you enter '.', the field will be left blank.

-----

Country Name (2 letter code) [AU]:
I am in Australia so I just pressed enter to use AU as the default
For some fields you can just press enter to skip the field. They are not necessary for the certificate to work.
State or Province Name (full name) [Some-State]:

Locality Name (eg, city) []:

Organization Name (eg, company) [Internet Widgits Pty Ltd]:

Organizational Unit Name (eg, section) []:
For State, and Locality I pressed enter to use the defaults []. For Organization I chose to enter . so it would be left blank.
For Common Name enter localhost. It is important that this common name match the address that goes into a
browser, otherwise you will get extra warnings when navigating to your secure web pages. In my case this is localhost.
Common Name (e.g. server FQDN or YOUR name) []:
So enter localhost and then press enter.
Then it will say this:
Email Address []:
Enter your email address and press enter.
Then:
Please enter the following 'extra' attributes

to be sent with your certificate request

A challenge password []:

An optional company name []:
You can safely skip these inputs by pressing enter.
Then it will say:
Enter pass phrase for privkey.pem:
Enter the passphrase that you chose earlier ie I love to code or whatever you entered.
This should succeed with a message:
writing RSA key

Signature ok

subject= C = AU, ST = Some-State, CN=localhost, emailAddress = youremail@yourdomain.com.au

Getting Private key

1 file(s) moved.

1 file(s) moved.
-----

Das Zertifikat wurde erstellt.

The certificate was provided.
Press any key to continue . . .
You are now finished creating your SSL certificate and private key. When we ran makecert, it actually ran a
makecert.bat script. The makecert.bat script will move your server private key and certificates in the
appropriate directories for you.
Eg C:\xampp\apache\conf\ssl.crt\server.crt
and C:\xampp\apache\conf\ssl.key\server.key
Step 4 – Install the Certificate
Go to start menu, type the following and press enter:
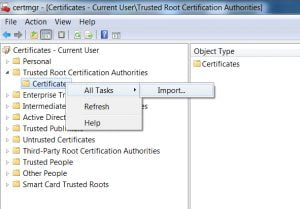
certmgr.msc
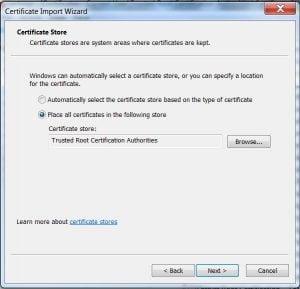
Double click “Trusted Root Certification Authorities”. Right click “Certificates”, choose All Tasks ->
Import…
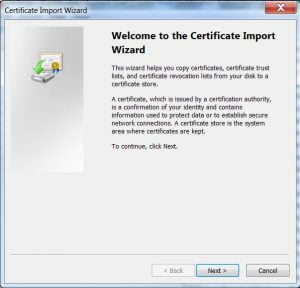
Click Next.
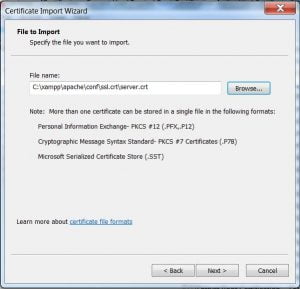
It will ask you to choose the certificate file. Click Browse and choose C:\xampp\apache\conf\ssl.crt
\server.crt
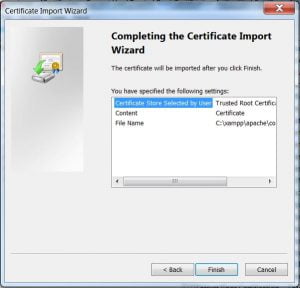
Click Next.
This will bring you a message. Click Yes.
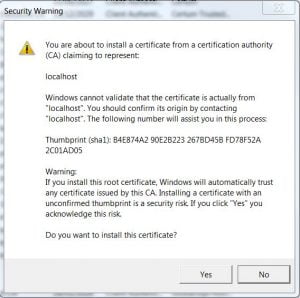
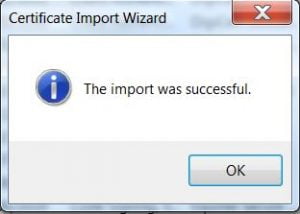
Then it should say Import was successful.
Step 5 – Restart XAMPP Services
From the XAMPP Control Panel, click stop and then once they are stopped, click start again.
This should enable https on localhost.
Step 6 – Test and Fix Firefox
Access https://localhost in your browser.
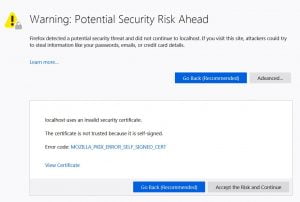
I found that it worked first time for Chrome, IE11, Safari 5.1.7 and Edge Version 87.0.664.66 but for Firefox you get a warning message about a potential security threat, due to the fact localhost is using a self-signed certificate.
localhost uses an invalid security certificate.
The certificate is not trusted because it is self-signed.
Error code: MOZILLA_PKIX_ERROR_SELF_SIGNED_CERT
The way I found to fix this was to add a certificate exception in the Firefox settings:
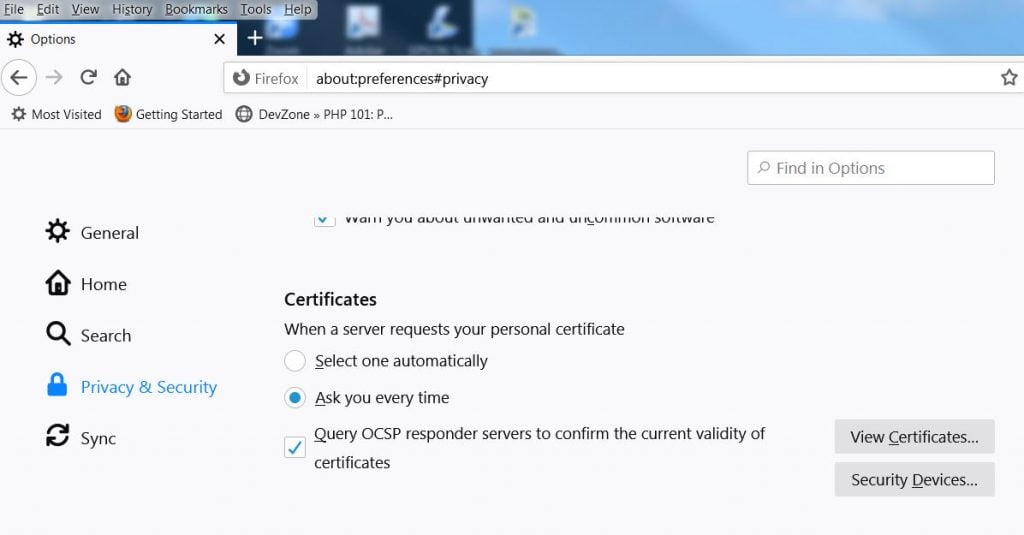
Click on Tools menu then Options
Click on Privacy & Security
scroll down to Certificates (almost at the bottom)
click on “View Certificates” button
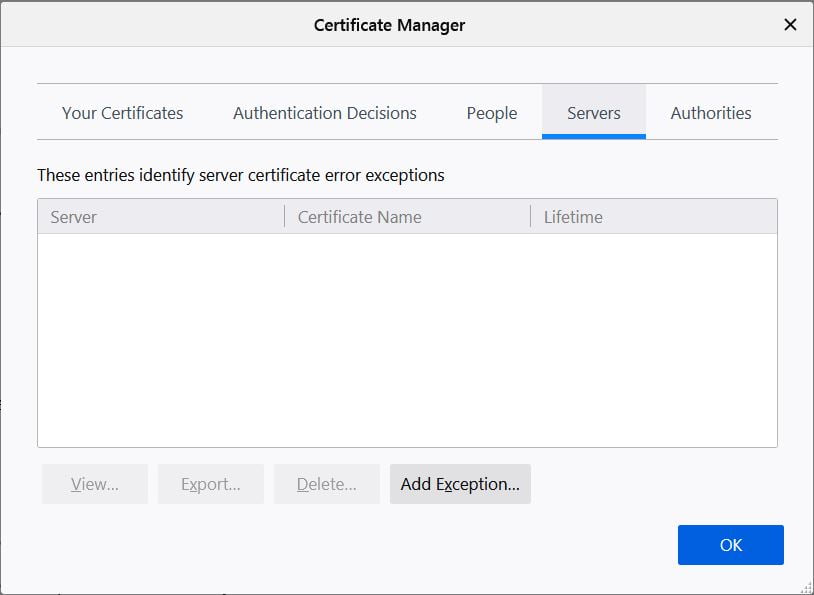
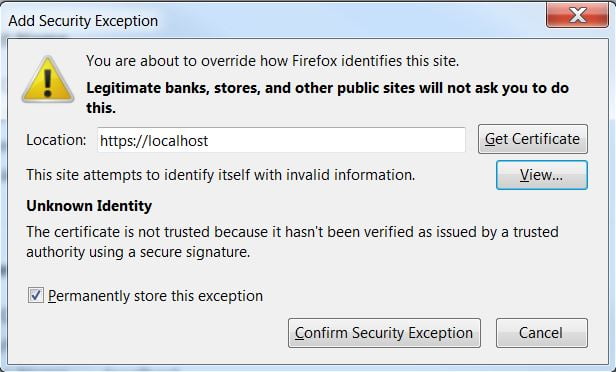
on the “Servers” tab click “Add Exception” button
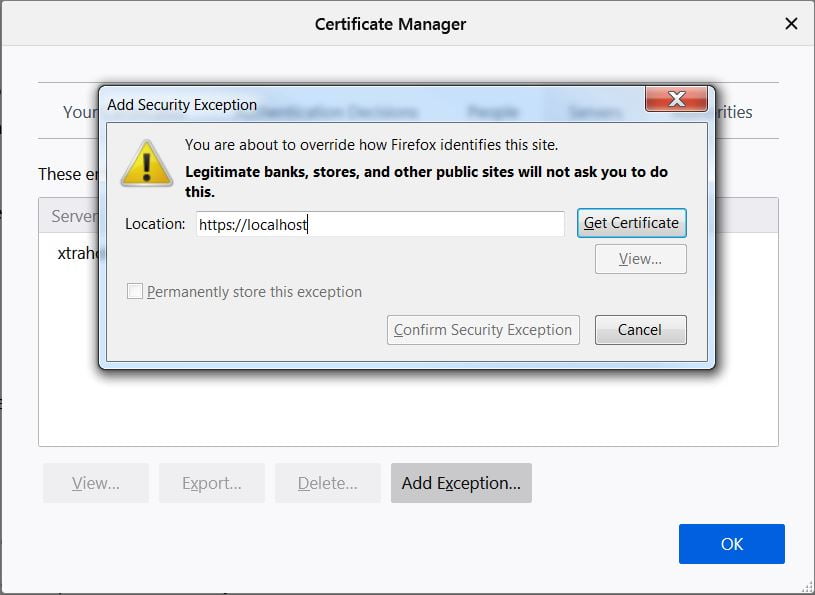
enter https://localhost and click “Get Certificate”
You get a warning message then, click “Confirm Security Exception”
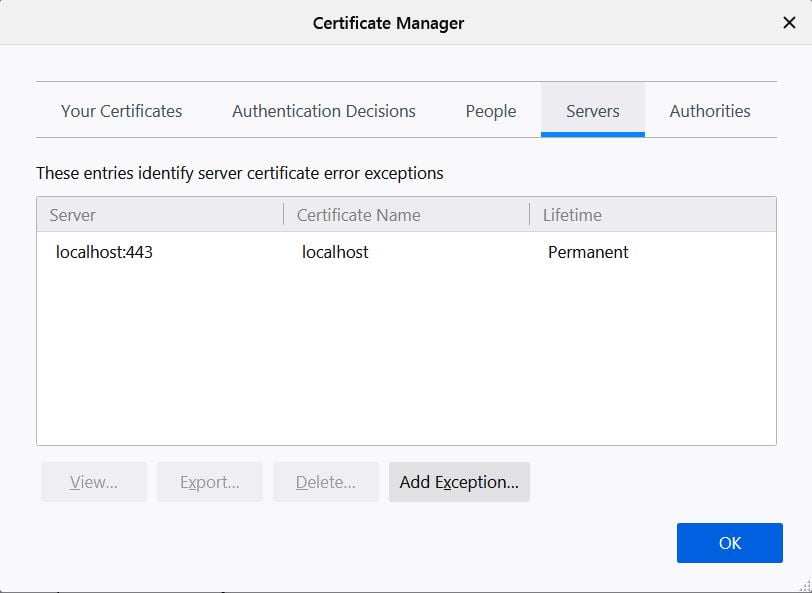
After adding the certificate exception for localhost, it should now look something like this.
When you now try to access https://localhost you will still see a warning over the padlock but it now works.
Related Reading
As reference I used “Use HTTPS on Localhost (XAMPP, Windows).”


THANK YOU! I’ve been trying to get this working for at least a couple days now and this was the only useful article that fixed my problem. However, when I try to access the same website from my phone I get a warning, but the https still seems to work. Is there any way to correct this? I don’t know much about networking or https certificates but any help would be appreciated.
Hi Matt,
So glad I was able to be of assistance.
Regarding using it on your phone. I haven’t tried it on a mobile device, so I am unsure, but are you using Apple, Android or something else? And what browser are you using? It is possible that you need to add the self signed certificate to your device for it to work without the warning.
I hope this helps to point you in the right direction, good luck.
Janette
You missed one point!
For firefox after doing everything as you mentioned above, you have to –
1. open a new tab
2. write “about:config” in the search bar
3. click on “accept the risk and continue”
4. Here you will see a new seach bar.
Now search “security.enterprise_root.enabled”. It is false by default, so click the two arrow oppsite to each other. It will make it true.
Now refresh and you are good to go.. cheers 🍻
Hi,
I found step 6 to fix Firefox, so I didn’t find this to be necessary. But thanks for your input.
Have a great day
Janette
By the way, Thanks a ton.
This article helped me a lot.
Looking forward to getting more helpful articles like this.
God bless…
Sorry… it was ✅ security.enterprise_roots.enabled
not ❎ security.enterprise_root.enabled